Instagram profile optimization is an essential component of your online presence as a business. The key is including only the relevant information to encourage visitors to either follow you, or even better, enquire about your services.
In this post, we’ll discuss all parts of the Instagram profile in detail from top to bottom to leave no stone unturned (read as “no element unoptimized” 😎).
The benefits of optimizing your Instagram profile:
- Visual appeal – people enjoy things that look good, so they’re more likely to stick around if your profile is visually pleasing!
- Discoverability – optimizing your profile includes optimizing for keywords. By including them in your profile, your profile is more likely to pop up when people search for them.
- Better user experience – if your profile is easy to skim, people are more likely to learn the information you want to convey. Teaching them who you are is the first step!
Instagram Profile Optimization Checklist
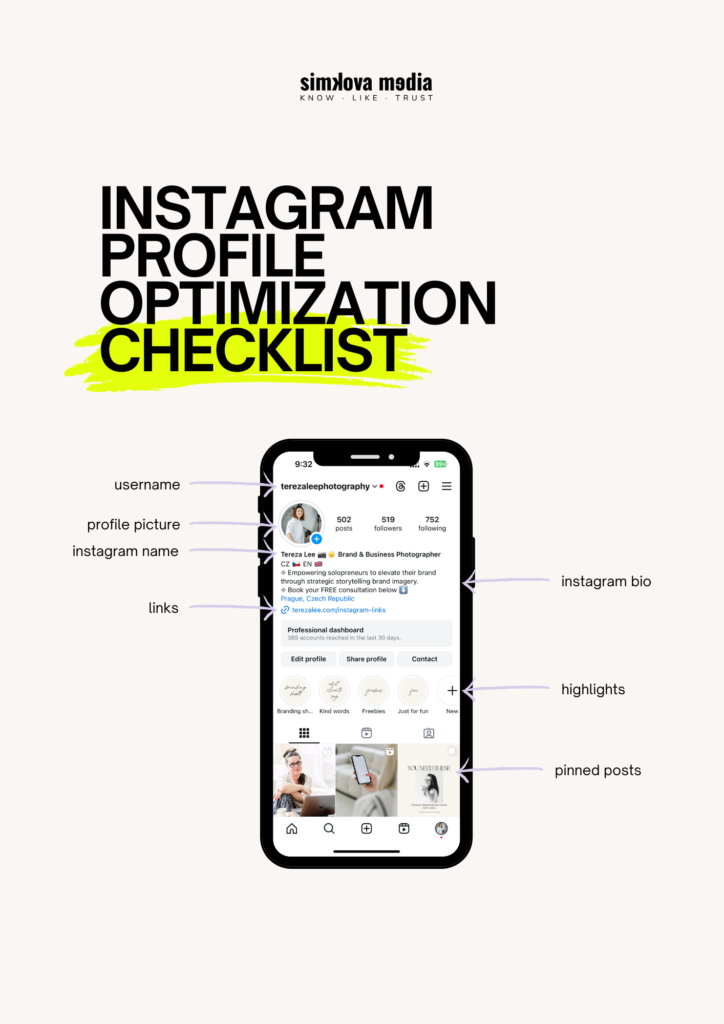
To make sure you don’t forget about any of the elements, I have created an Instagram Profile Optimization checklist to make creating a perfect business profile a breeze.
It is free to download here.
Table of Contents
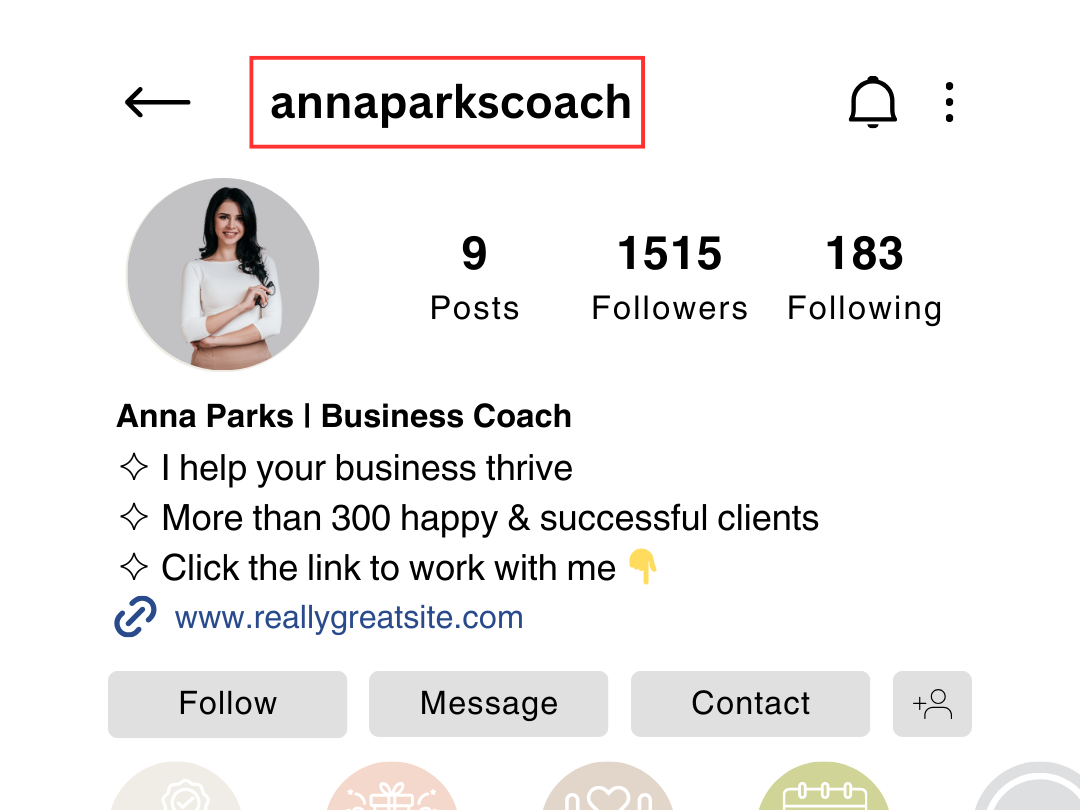
1. Choose a consistent username
Your username, also known as the Instagram handle, is the foundation of your brand identity on social media. It should ideally be uniform across all platforms to ensure easy recognition and interaction. A clean, simple handle like @annaparkscoach without special characters is ideal.
If your ideal handle is already taken and you would like to use special characters, it’s best to use underscores (f.e. annaparks_coach), and stick to ideally only one character, or one type of special character – you want to make your username as easy to type as possible.
It’s good practice to make your handle descriptive enough to give an idea of what your business is about. People will see your username when you like/comment on posts, and if people immediately know what your profile is about, they will be more likely to click on it.
2. Select the right profile picture
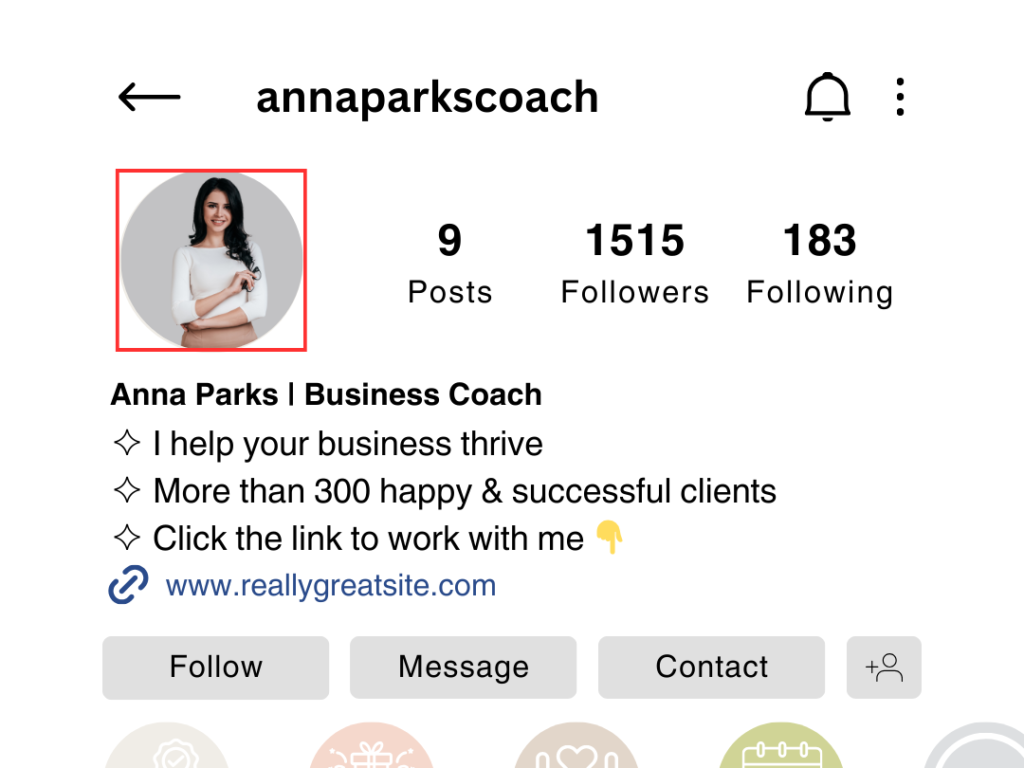
Say no to personal selfies and low-quality photos. Your profile picture should immediately make it obvious that your profile is not a personal, but a business one. Different rules apply to solopreneurs vs. brands of 2+ people.
Solopreneurs/personal brand
Your profile picture should be a high-quality photo with an uncluttered background. It doesn’t necessarily have to be a professional, front-facing business headshot if it doesn’t align with your brand. The photo should reflect your brand identity, and bonus points if you can incorporate your niche into it.
Businesses and brands
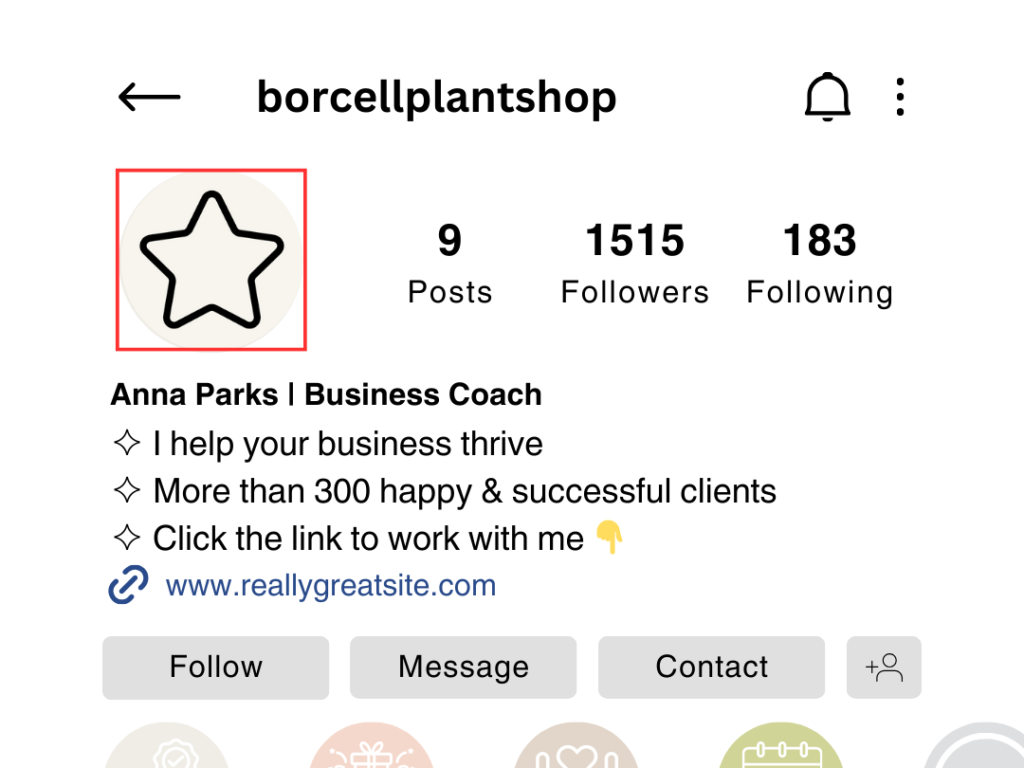
For everything else that isn’t a personal brand, your profile picture should be your logo. Make sure it is visible and doesn’t have any small text (pro tip: check the visibility on your phone – that’s where it is the smallest).
3. Make your Instagram Name searchable
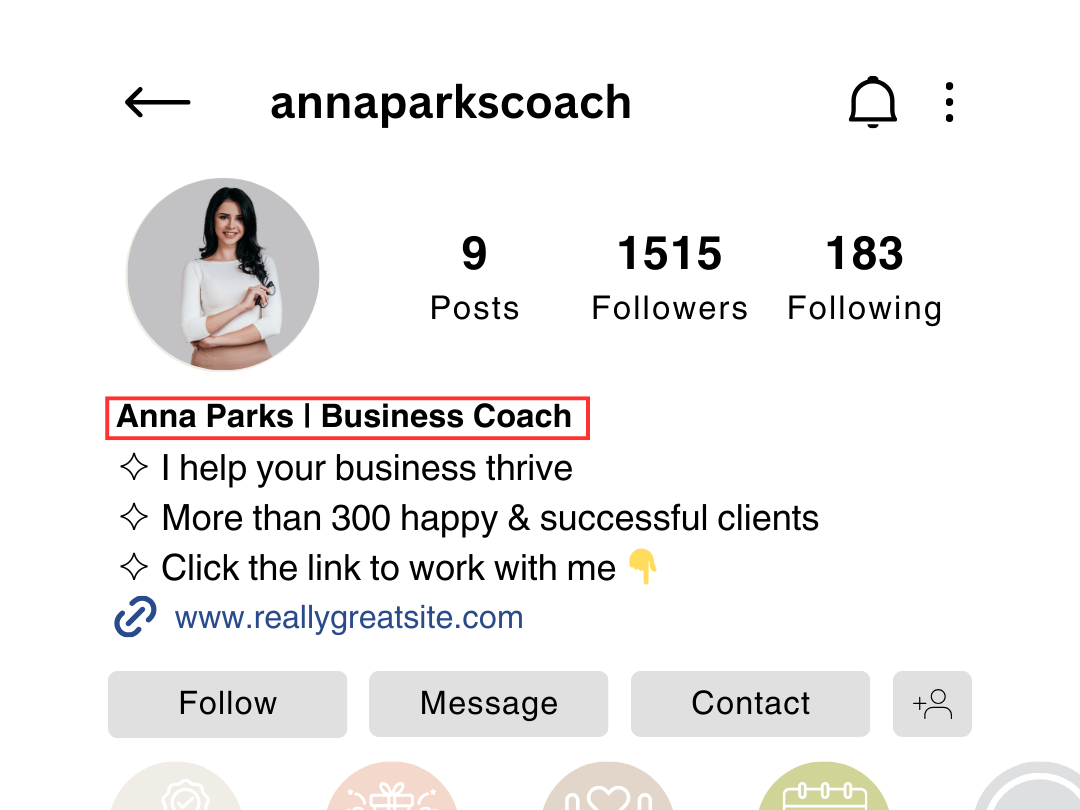
The Instagram name (not to be confused with the Instagram username which we already discussed) is probably the most important component of your profile. A good Instagram name contains your name/business name, as well as keywords related to your niche which explain what you do.
SEO and keywords
Think of the most basic term someone would enter into a search engine when looking for your services. It is important to include keywords here because your Instagram name is important for SEO. If you search for your niche on Instagram, chances are that only accounts with those keywords in their Instagram name will appear – that’s why it’s important to have them there.
It is good practice to visually separate your business name from the keywords, either by using the pipe separator (“|”), an emoji, or a special character.
Location
If location happens to be relevant to your business (i.e. you’re a brick-and-mortar shop or a local photographer), you might want to include it in your Instagram name also if you have any characters left. If that is not the case, you can include it in the bio or add a location tag to your profile under ‘Edit profile’ > ‘Contact options’ > ‘Business address’. If you don’t have a specific address (like a photographer), you can just add the name of the city.
4. Write only relevant information in your bio
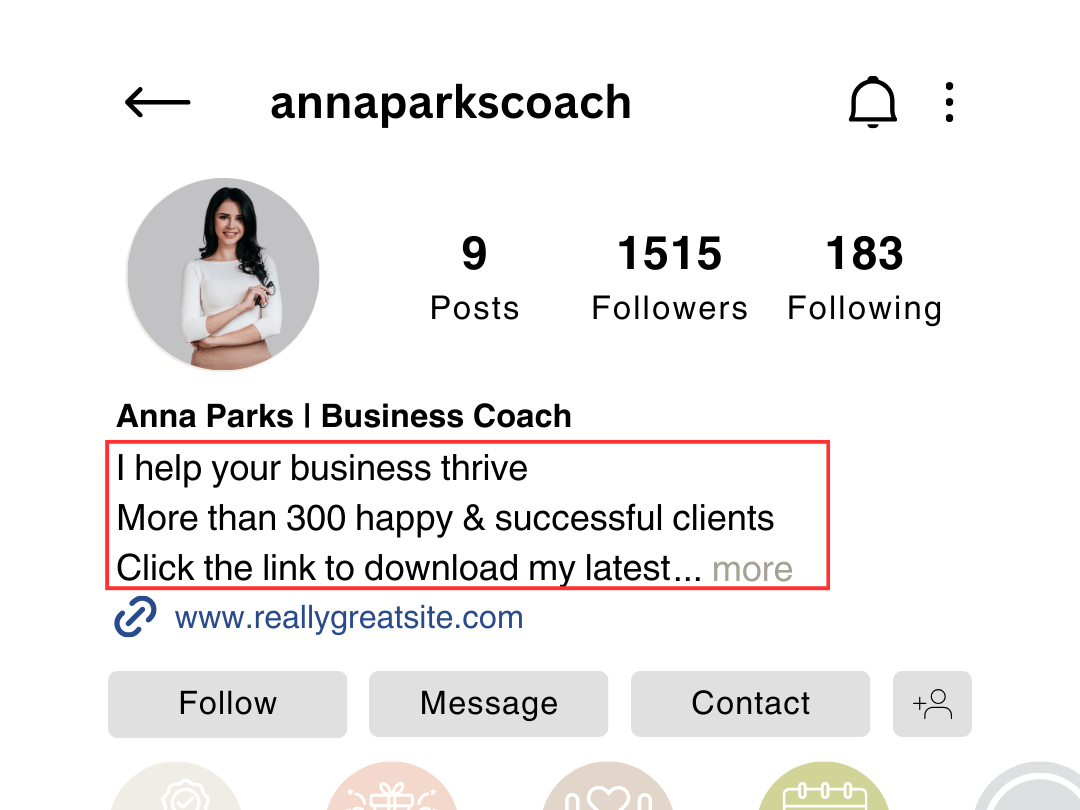
The Instagram bio is the most misused element of the profile and a lot of people get it wrong so beware. The bio’s job is to further explain what you do or who you help and how, as well as to call your audience to action.
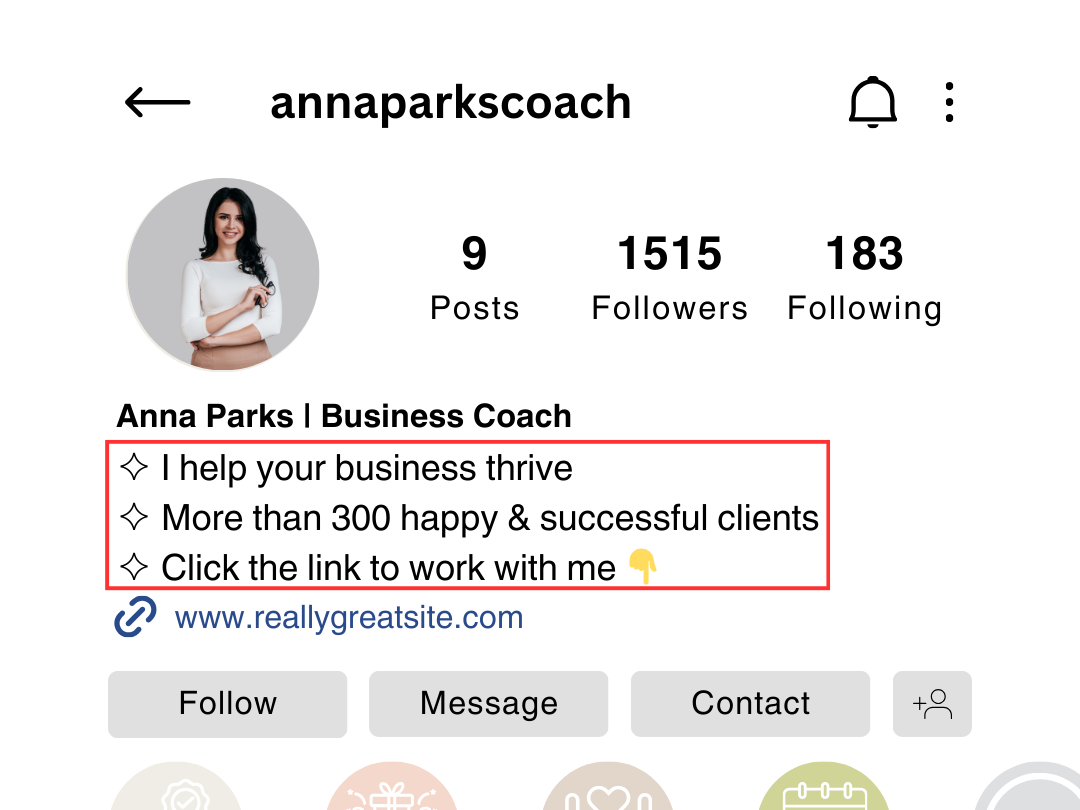
It is helpful to write these in bullet points using emojis or other elements as said bullet points and to make each point fit on one line. This just helps the readability and makes the text easier to skim (remember how I talked about a good user experience? 😎).
The bio should be short enough so that you can see all of the text without having to click on ‘… more’. This is because most people won’t (let’s be honest) so you don’t want to miss out on a chance to call them to action.
Who you help and how
For example, a photographer’s “who and how” could say something like “Creating eternal memories from your wedding”. From this snippet, it is obvious that this photographer helps wedding couples capture their special day. The more specific you get here, the better. You want your ideal client to say “that’s exactly what I’m looking for!” after reading the first section of your bio.
Call to action
A call to action could take many forms. It could be directing visitors to your website, inviting them to send you a DM, or asking them to download your latest freebie. It should essentially be directing attention towards what you want the visitors of your profile to do the most.
Is your current priority making bookings? You could say “Enquire about my availability”. Selling a product that’s on offer? “Grab your XYZ with an X% discount!”.
It is good to include an emoji/special character that embodies the message of your text, again, just to make it easier on the eyes of your visitors.
5. Links
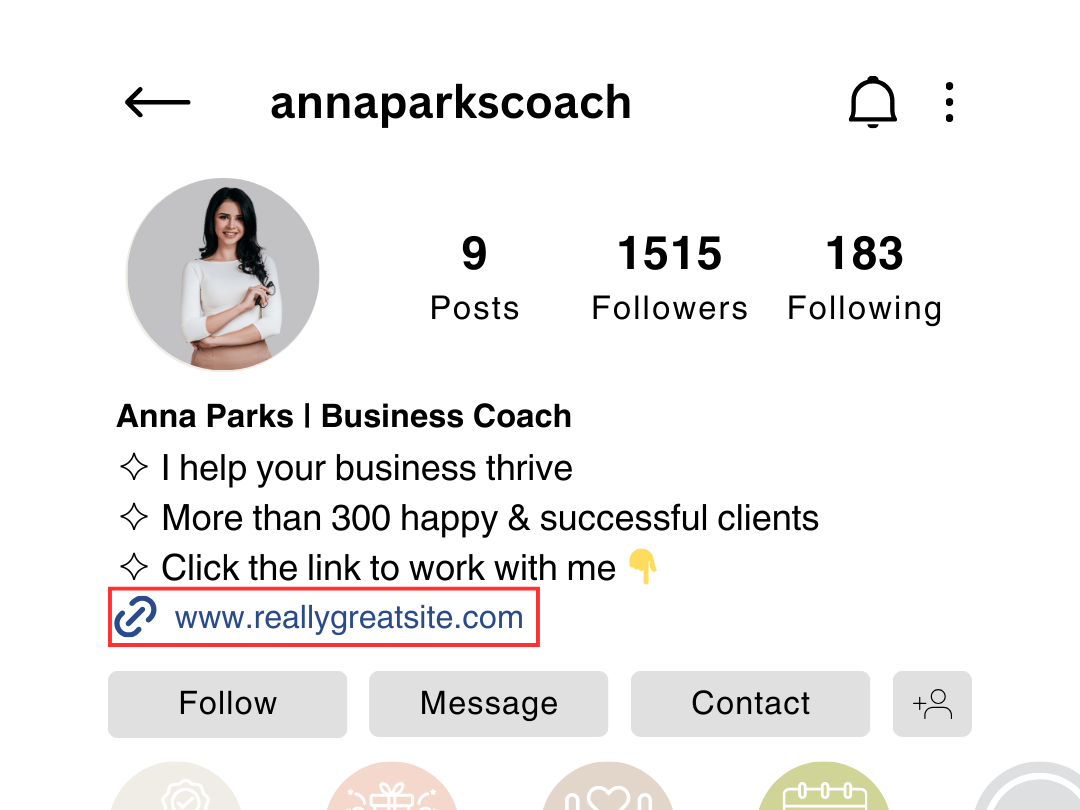
You used to be able to use only one link on your Instagram profile, but recently this has been changed to up to 5 (!). The general rule here is the less the better, so I would try to stick to max 3 links if you use the native Instagram links, and make sure the one you want your visitors to go to the most is first.
Since using multiple links was not an option for a long time, link aggregators have become very popular on Instagram (and other social media platforms). Examples of such are Linktree, Taplink, or Lnk.bio.
These are a great option but I would only recommend using these if you don’t have your own website. Creating a link aggregator on your website allows you to completely customize it to your needs, but it also generates traffic on your domain.
6. Accessorize your highlights
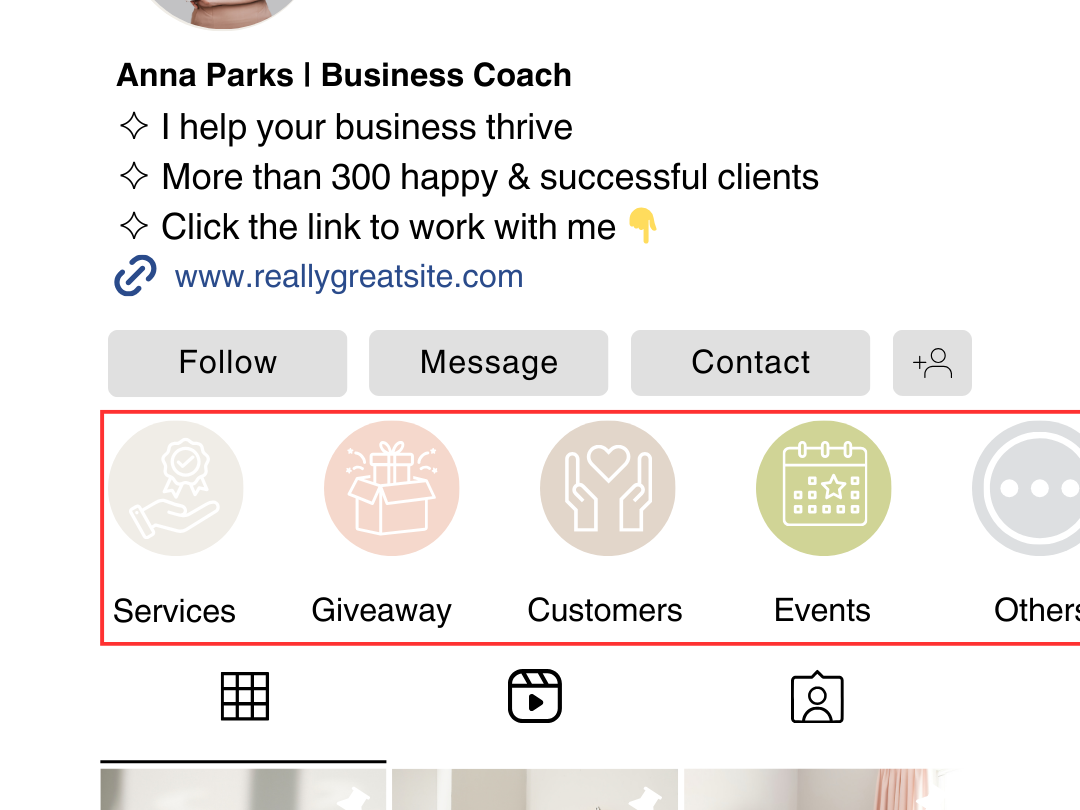
The main purpose of highlights is for users to save stories on their profile. A great example of this is a product-based business whose clients tagged their products in stories. This way people can see photos of your products by “real people”, thus creating social proof.
I would recommend sticking to 4-5 highlights – you don’t want to have too many because it just gets overwhelming for the user.
How to add stories to highlights
- Go to your profile > [hamburger menu] (top right corner) > ‘Archive’
- Click on the story you want to add to a highlight.
- Click on the ‘Highlight’ icon in the bottom right corner.
- Name your highlight and click on ‘Add’
To stories to existing highlights, follow steps 1-3 and select the group you want to add your highlight to.
Just like with links, make sure your highlights are ordered from most to least important – remember that you’ll have to create your first highlight last as they get saved in chronological order.
Highlight covers
Highlights without covers can make your profile appear very cluttered so I always recommend adding some. You can just use your brand’s color palette for covers or if you’re feeling extra you can jazz it up with some icons.
To add highlight covers:
- Click on the highlight whose cover you want to add.
- Tap on the ‘More’ icon in the bottom right corner > ‘Edit Highlight’.
- Click on ‘Edit Cover’ and then the photo icon to add your own.
Pin important posts
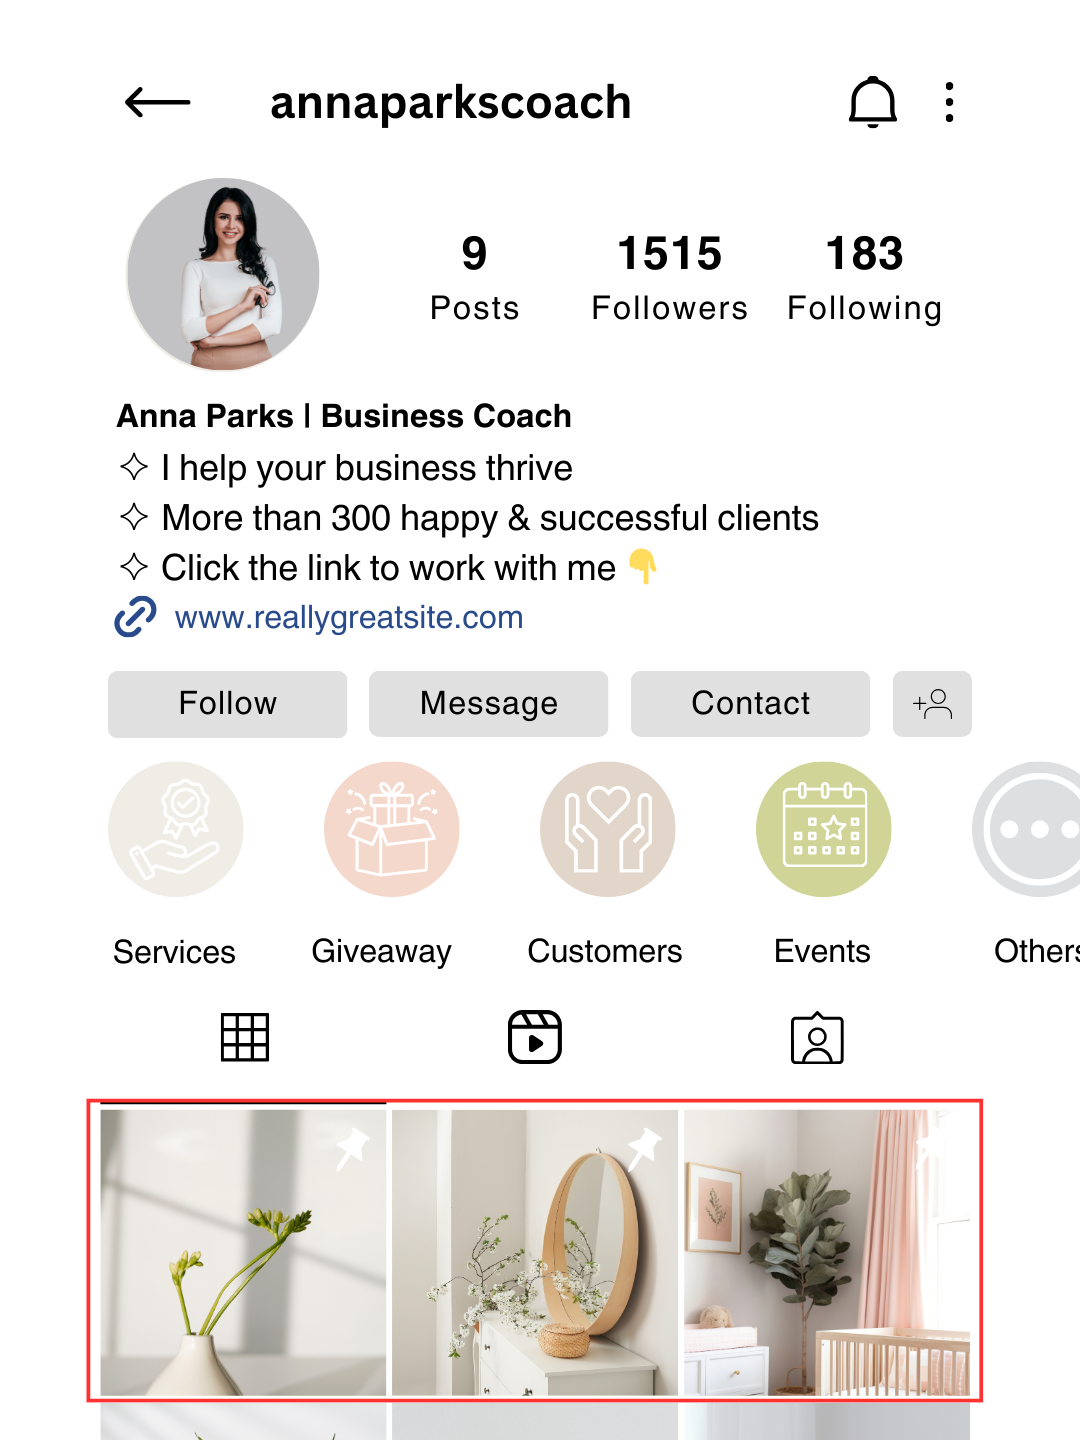
Pinned posts are great for explaining what your business does/who you are. The nature of pinned posts is that they’re always at the top of your profile so they’re a great way to highlight key information.
A good rule of thumb is to have one about you (My name is… and I do…), one about working with you (services offered, pricing, etc.), and one for highlighting your current offer (a sale or a freebie).
To pin a post:
- Click on the post you want to pin and go to menu (…) in the top right corner.
- Tap ‘Pin to Your Profile’.
Same rules apply to pinned posts as they do to highlights – they are made in chronological order so make your first highlight last.
Conclusion
Creating the perfect Instagram profile for your business is an ongoing process and you will likely have to edit it a couple of times before you find a version you like. This post should provide you with all of the information to get started.

If you’re too overwhelmed, remember that I have an Instagram profile optimization checklist that you can download for free. It honestly makes creating the perfect profile a breeze.
If you need more help with your business social media, I offer a range of services from consultations to full platform management so don’t be afraid to get in touch 😉

